The waterfall ..
3- Decoration :
The sequences to build the iteriors is used the following materials:
1- the base or the foundation will be from the foam ( polysterene )
2- Attached pots for plants by maskin tape
3- then using foam ( foam spray ) in between the foam , pots and fill the gaps
4- shaping and cutting
5- Then mix of cement , potting soil and colors to cover ..
6- finishing the cover .
The Upper tank :
Due to it is the high level - adding some water feature effect will be very beatiful , All we need is a submersable aquarium pump - flexable pipe
The wire of the pump can be protected by run through pipe as a sleeve


Container will be used as a water basin as above to put the pump inside .. selected to be good and strong with high quality
Cover not for used ..
Above and below .. I have some used foam , pots from old project will be used as a stuff
Unleash your imagination in visualizing things .. things will be final .. think about the water fall to the basin ..
caves for reptiles .. wood and branches to climb .. cave inside the water ... etc
A lot of photos in tropical areas , videos from youtube or other projects photos can be used for inspiration :-) This the most beautiful artistic part of the project..
So take your time ..
In some cases you need to read about the reptile or the animal specific requirement
Caves here


The water will be pumped through the pipe to the upper level to creat the water fall .. Then - to avoid the water to go through the decoration 9 Fake roak ) you need to add a piece from liner from upper level to the water basin ..
See below :


I attache the liner by pins .. in the area that the stream of water will not be in touch ..
Water discharge line
Electrical cord inside the pipe .. for protection and easy cagnge .. when you want to change the pump
Wire for fixation
Then you can lay the first foam spray .. Fill the pots , cave , opening and any things that you don't want to fill with newspaper or towel paper
You can add some foam on liner to create rocks or roots ..
then you can insert some wood , stems ..
Shaping : The art work will start .. You will be mkore and more expert in this with practice for projects ..
Some tools will be used live knives ..
But to build something more preffessional you need the hot wire device ( By Proxxon )
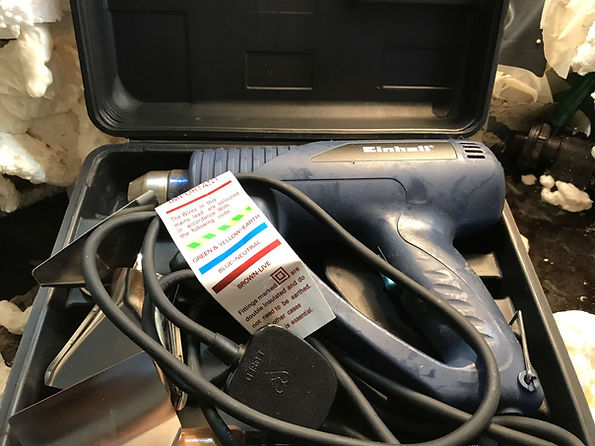
The hot gun will be used to shape groove with mass removal but smoke and fume will be produced .. need good ventilation and wear a mask ..
The proxxon thermocut .. are very important to do an accurate cuts for final shape..
Of course it can be work without these tools by using your hand to cut and knives ..
After that we will cover all the foam , walls and our works with brown color of the forest ground .. you can used different degrees of coloration .. For me I add some poting soil to save the cement and to add more natural effect ..
To attache very good we can use a glue with the mixture
Usually I use half soil , half cement with cement color ..


By using the brush with water you can arrabge and shape smoothly .. need some practice and change the brushes
For the stems and roots will be covered by the mixture you can remove it by hand and by using brush with water ..


The work after shaping .. the holes and the opening of the caves closed temporarily ..
Above another mistake the drain come exactly under the tank and i am unable to install the strainer ..


Mixing all together : the potting soil , cement and the color with glue and of course water ..
Use your hand and through the mixture ..
Some point need to reach by hand and push slightly ..
After one day ..

These areas near to the light for reptiles baskin
Caves : caves are connected and around the water basin with multi openings
The Waterfall ..
Now the vivarium is ready for planting plants and put the slide acrylic widows ..


PROJECT One : Corner Vivariums : PART 1 PART 2 PART 3 PART 4 PART 5
PROJECT Two : Clothes cabinet to vivarius project : PART ONE PART TWO
PROJECT Three : Themed stands or racks : PART 1 PART 2
PROJECT Four : Wood Vivariums :
Project 1 : Part one Desert vivarium for Arabian uromastyx
: part two Desert vivarium for Arabian uromastyx
Project 2 :- General tropical vivarium
Project 3: - Wood Vivarium : calotes mystaceus enclosure
Project 4 : - Large Tropical Vivarium : The Boa vivarium : PART ONE PART TWO
Project 5 :- Tropical Vivarium : The chameleon vivarium
Project 6 :- Tropical Vivarium :Cuban Anole vivarium