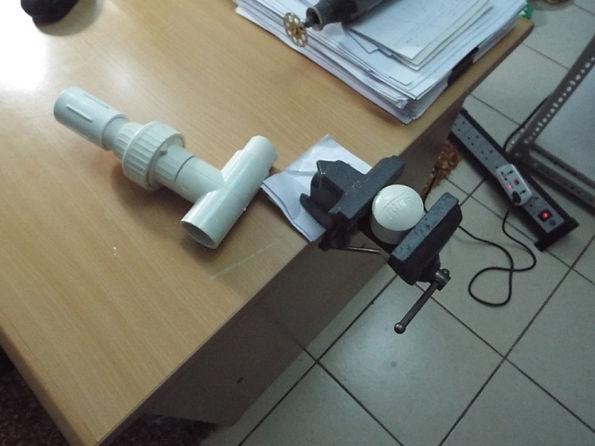
Now The Supply or return water piping .. from Pump with one Inch size
15- Plumbing : The time now to clean and start the plumbing , First thing is to install the bulkhead tightly and then need to think about the unions and how to dismantle the pipes and tanks for any shift or move in the future , So the sequences :
- The drain pipes Elbow – Bulkhead) inside the tank then (Union – T fitting (for Durso)- elbow or more to the sump – gate valve – elbow ) and also with durso pipe
- The supply pipe from return pump to the both tanks: pump –T fitting – Union – Gate Valve – Elbow – Non return valve – elbow – bulkhead – supply or nozzle fitting.
All these plumbing glued by PVC cement (The US made Oatey ) . Or Teflon for the threaded pipes.
Problem I face for the orientation the forest of 6 / 1 inch pipes which forced me to moving or shifting the pipes with 2 or more elbows before the final drop in sump tank.
Working with PVC cement needs speed and planning because it is freezed quickly..


16- Equipments Works: Now I will put the Return Pump , Protein Skimmers , Heaters , Lighting for Sump area services , Lighting for refrigium , ..
But before that two Acrylic works done:
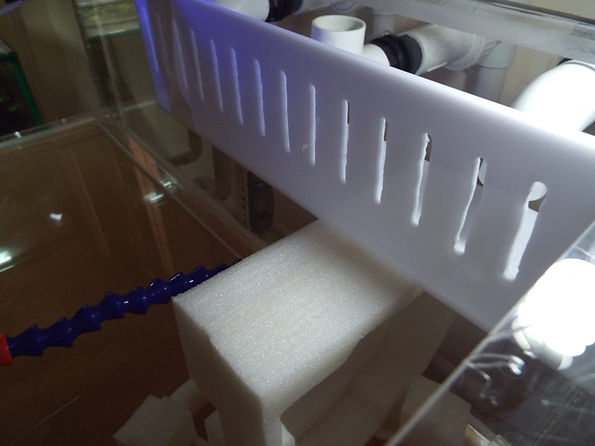
- First one the overflow cover : as I said before the white colour will be the base color and due to the high cost of this overflow I decided to make one by myself , I ordered an Acrylic sheet white colour for the doors inside to hide the sump area and also some of them to make this overflow to hide the pipes elbows .. then I used my vise and the Dremel tool with drilling cut – I try all my best to be strait equal similar size grooves . , after that fabricated and glued with Acryfix glue .
- The second thing is a Perforated sheet of acrylic below the drain pipes . which I make it simply by my drill .. To distribute the water equally on the Filter media ( Live Rock Rubble ) ..


Now the perforated Sheet ..


- Other equipments in pics , it will purchased step by set-up trying to put all local store happy ?! Some of them Old ..!


2014
2014