M
PART TWO : Facilities ..
Here I will explain with photo how to supply the vivariums with lighting , ventilation ( Heating is not required because I lived in hot climate country and the lighting is enough to provide it ) ..


1- In order to elimnate the water to affect the wood ( Which is common problem in the Wooden vivarium ) I prpose to use the same pond liner , I select the thiner one ( Thikness 1 mm ) but from very good supplier ( Fire stone ) It is not available locally here in UAE , So I ordered from Outside and cost me too much ..
2- Using Liner glue and adhesive tape to attached theb liner on the walls of the vivariums .
Above the bulk head drain , should also proof the area from any water leakage by using silicon ( Same that type used in Fish tanks ) .. spread the silicon all around the bulk head and leave it for at least one day , Also this will be after gluing the liner need to leave the work from one to two days to dry ..
Caution : use gloves and mask
3-Use chicken wire or any mesh sheet manufactured from GI or stainless steal ( The last one very expensive ) or plastic covered one to close the lighting compartment ..
Above the mesh is completed and the plumbing works to connect the drain start ..
Above is three fans above the three tanks to exahust the air from the void
I make mistake that I put the fans inside the vivarium - should be outside .. for easy maintenance and this what I do in all my next project :-(
Below I put some pipes fittings to guide the wires to the ground ..
Other photos for the plumbing works ..
I cut the wood by the jig saw and the fan come with four screws mountings ..


4- Electricals : lighting is neccessary and very important to reflect the decoration works and for the plants and animals , The void space between the screen net and the top wood board will be for lighting bulbs , to avoid any animals touch with bulbs , easy to access and replace , I can put Led lights , Heat or ceramics bulbs their ..
- Fans : it is important to evacute the heat generated by the lights , heat can damage the life inside the enclosure ..
I put fans ( 6 Fans ) to supply fresh air to the vivariums while the other three fans will exaust the air ( Which is hot ) to outside ..


In the above photos the screen or the net and the lights bulbs sockets also I protect the sourawinding with aluminum tape ..
It is used old lights used here just to complete the work and will be replaced by the permanent light after that when the plants and the animals introduced ..


I put wire for every light or Fan for better control ..
Up : you can see the fans inside the vivariums after cutting in the liner with foam an cement ( The decoration materials used in the decoration See Part 3 ) will very difficult to replace this fan ..
down : access doors for the void :
:-O !!!!!!!!!!!
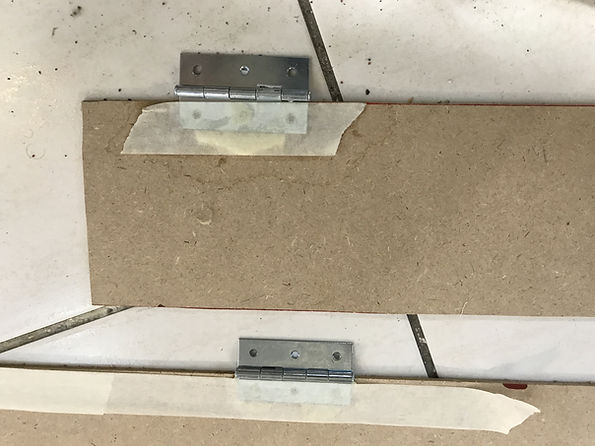
Door hings used with glue ..


The void access doors or wnidows are fixed using the scews and screw driver ..
Above you can see the door and net mesh ..
below is the liner attached using glue .. Don't woory it is not bad .. all will be hidden by decoration materials ..
Before starting any work I put the Vivarium in the corner position ..
And I paint it by cement color Brown .. You can add some branches , ropes , vines ..


This tape I put it here to keep this part of wood not to be painted because I will attached the Identy lable here which I not decided the tyope yet
PROJECT One : Corner Vivariums : PART 1 PART 2 PART 3 PART 4 PART 5
PROJECT Two : Clothes cabinet to vivarius project : PART ONE PART TWO
PROJECT Three : Themed stands or racks : PART 1 PART 2
PROJECT Four : Wood Vivariums :
Project 1 : Part one Desert vivarium for Arabian uromastyx
: part two Desert vivarium for Arabian uromastyx
Project 2 :- General tropical vivarium
Project 3: - Wood Vivarium : calotes mystaceus enclosure
Project 4 : - Large Tropical Vivarium : The Boa vivarium : PART ONE PART TWO
Project 5 :- Tropical Vivarium : The chameleon vivarium
Project 6 :- Tropical Vivarium :Cuban Anole vivarium